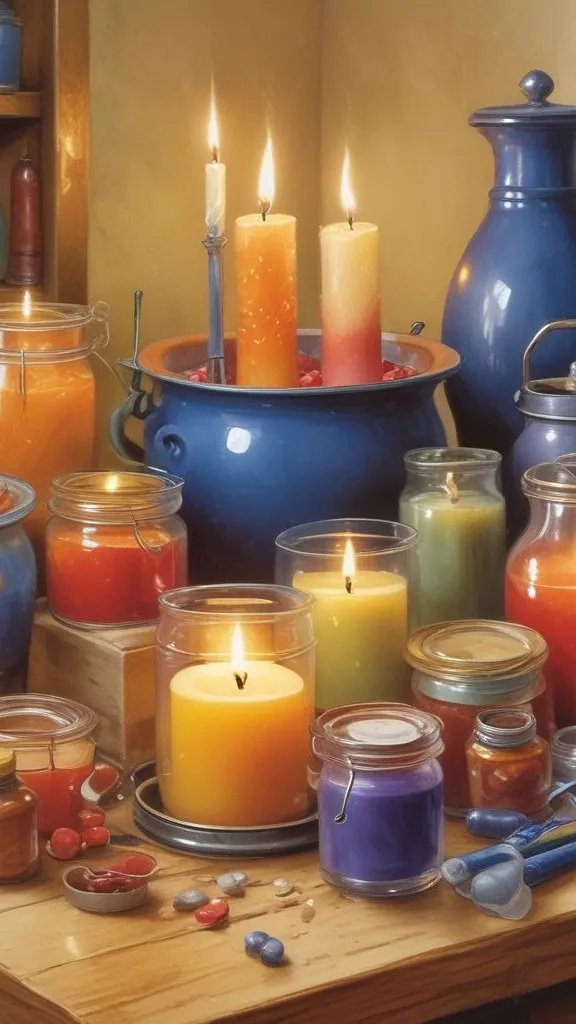
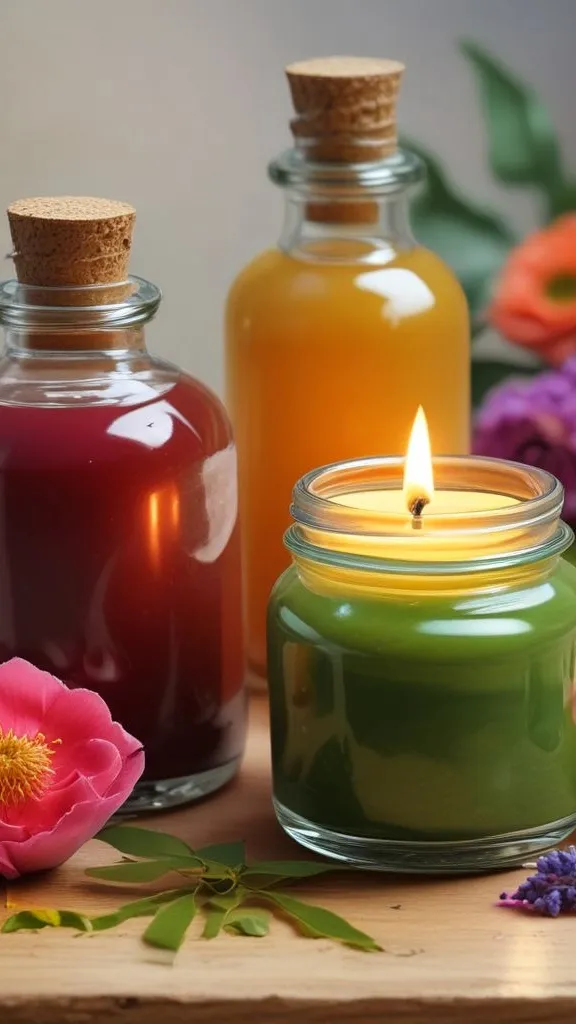
There’s something wonderful about lighting a candle you crafted with your own hands. The soft glow, the exquisite aroma permeating your space—it just hits different when you know exactly what went into it.
I recall the first time I attempted making candles; I was concerned about messing up, but the procedure turned out to be shockingly straightforward and incredibly fulfilling.
Whether you want to save money, create personalized gifts, or simply enjoy a soothing craft activity, learning how to manufacture scented candles from home is easier than you think.
You don’t need sophisticated equipment or professional skills—just a few basic supplies and a little patience.
This book will bring you through everything step-by-step, so you can manufacture stunning, fragrant candles that rival anything from the store. Ready to get started?
How to Craft Your Own Scented Candles in 8 Simple Steps
Making candles at home doesn’t require magic—just the appropriate procedure and a little of ingenuity. Below, I’ll lay out each step so simply that even a total beginner can follow along without confusion.
From gathering your ingredients to watching your finished candle flame for the first time, this process is both exciting and gratifying. The best part? You control everything: the color, the perfume, even the container style.
No two candles have to be the same, which makes this art eternally intriguing. Whether you’re producing something for yourself or preparing handmade gifts for friends and family, these eight steps will lead you easily through the full candle-making adventure.
Let’s get into what you need and how to convert ordinary wax into something truly amazing.
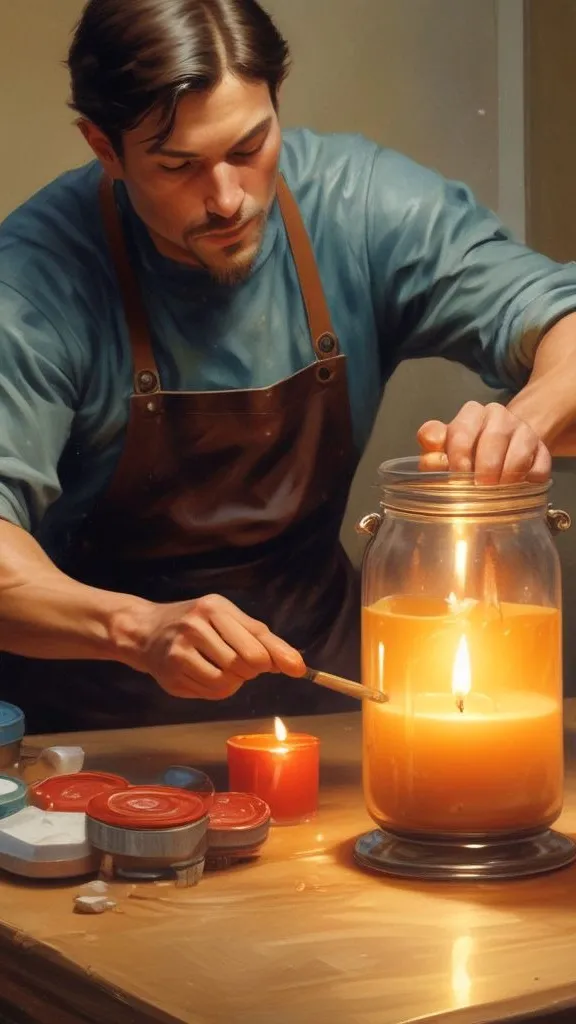
1. Gather All Your Candle-Making Supplies
Before you begin, make sure you have everything within arm’s reach. You’ll need candle wax (soy, beeswax, or paraffin work beautifully), wicks with metal tabs, a double boiler or heat-safe container, fragrance oils, candle dye if you want color, and molds or jars to pour your candles into.
Don’t forget a thermometer to check temperature—it’s more vital than you might believe! A stirring tool, like a wooden spoon or chopstick, will help you mix everything evenly. Some people also use a scale to measure wax exactly, which helps you get consistent results every time.
Honestly, having all your stuff arranged before starting makes the whole process smoother and lot less stressful. You won’t be rushing around hunting for stuff while your wax is melting. Trust me, preparation is half the battle in candle manufacturing.
2. Measure Your Wax and Determine the Correct Amount
Getting the appropriate amount of wax is vital for filling your container perfectly. A easy approach is to fill your jar or mold with water, then pour that water into a measuring cup to see the volume.
Generally, you’ll need nearly twice that volume of wax flakes because wax is less dense than water. For example, if your jar holds 8 ounces of water, you’ll need around 16 ounces of wax.
Using a kitchen scale makes this very easy and accurate. Weighing your wax guarantees you don’t squander ingredients or end up with too little to fill your mold.
It might seem like extra work at first, but once you get the hang of it, measuring becomes second nature.
Plus, exact measurements lead to professional-looking candles every single time. This stage really establishes the framework for all that follows.
3. Set Up and Secure Your Wick Properly
Your wick needs to be focused and stable before you pour any wax. Take the wick with the metal tab connected and set it at the bottom center of your container.
You can use a dab of melted wax or a glue dot to stick the tab down firmly. Then, use a wick holder, clothespin, or even two pencils set over the top of your jar to keep the candle standing straight and centered.
This might seem like a tiny detail, but a crooked wick can spoil an otherwise flawless candle.
I discovered this the hard way when my first candle burnt unevenly because the wick shifted while pouring! Taking an extra minute here saves you frustration later.
Make sure the wick is taut but not stretched too tight. Once it’s secure, you’re ready to continue on to the exciting part—melting your wax.
4. Melt Your Wax Using Gentle Heat
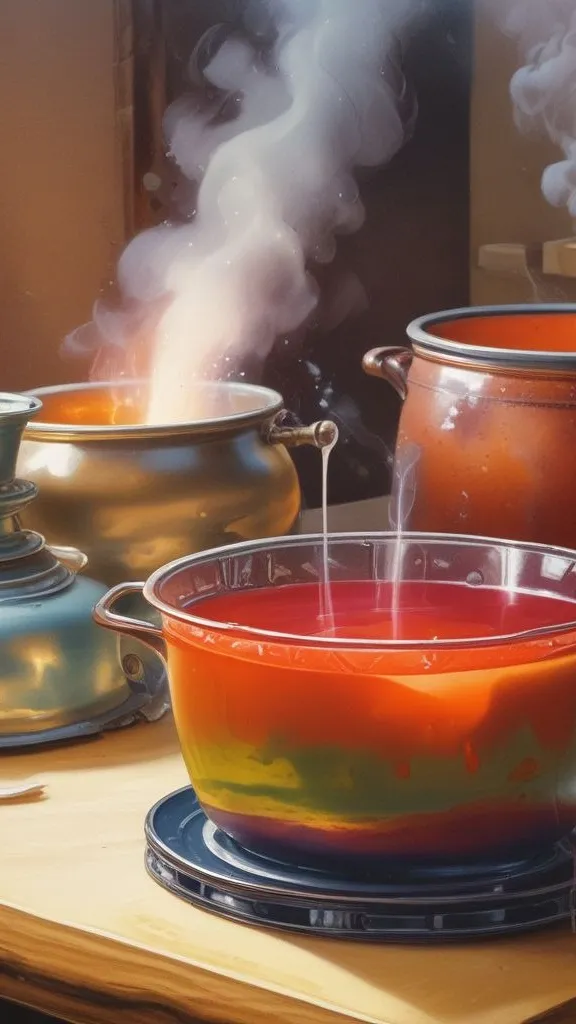
Now comes the phase when chemistry meets craft. Place your measured wax into a double boiler or a heat-safe container set within a pot of simmering water. Never melt wax directly over high heat—it can burn or even catch fire.
Keep the heat medium-low and whisk occasionally while the wax melts into a clear liquid. Use your thermometer to check the temperature; most waxes should reach about 170-180°F (77-82°C) for melting.
This process takes patience, usually about 10 to 15 minutes depending on how much wax you’re melting. While you wait, avoid the impulse to turn up the heat to accelerate things along.
Slow and steady really does win the race here. Watching the wax transition from solid flakes to smooth liquid is weirdly pleasant.
Once fully melted and at the correct temperature, you’re ready for the next steps.
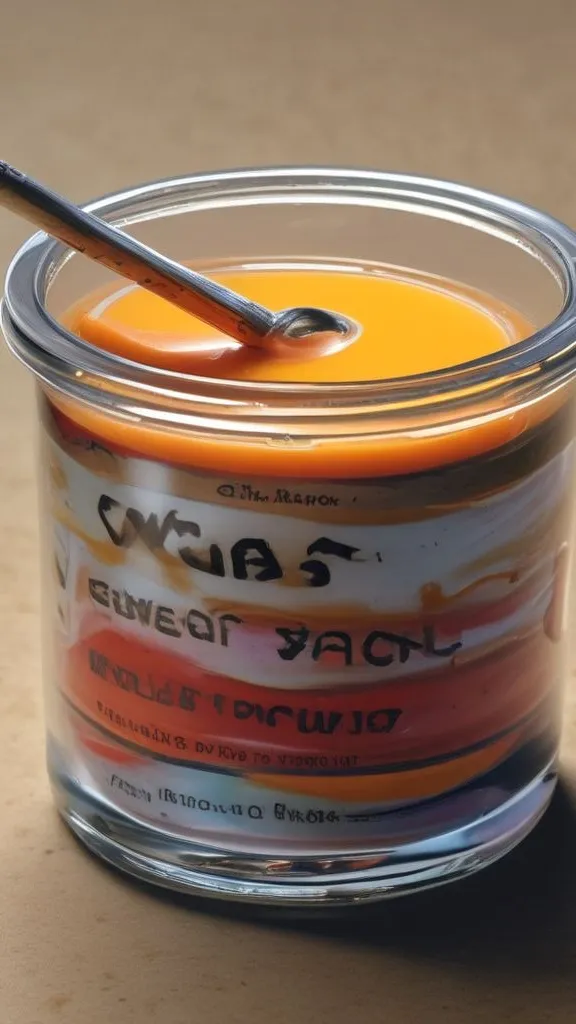
5. Mix in Your Chosen Color (Optional)
If you want colored candles, now’s the time to apply dye. You can use liquid candle dye, dye chips, or even crayons if you’re in a pinch, however crayons can impact how the candle burns. Start with just a tiny amount—you can always add more, but you can’t take it out once it’s in.
Stir thoroughly until the color is entirely integrated and even throughout the wax. Remember that the color will look darker in liquid form than it will once the wax solidifies, so don’t panic if it seems too vivid at first.
I usually test a little scoop on parchment paper to see the true color before committing. Keep swirling until there are no streaks or clumps remaining.
If you’re trying for a natural look, feel free to omit this step entirely—uncolored candles have their own subtle beauty. Color adds personality, but it’s absolutely up to your style and inclination.
6. Blend in Your Favorite Fragrance Oil
This is where your candle truly becomes yours. Once your wax has cooled slightly to roughly 150-160°F (65-71°C), add your fragrance oil. Use around 1 ounce of fragrance per pound of wax, though you can modify dependent on how strong you want the scent.
Stir slowly but well for at least two minutes to ensure the scent distributes equally throughout the wax. Choosing the correct perfume is so personal—lavender for relaxation, vanilla for warmth, eucalyptus for freshness.
The options are infinite! Make sure you’re using oils particularly created for candles, as certain oils aren’t safe to burn. Essential oils can work too, although they’re frequently more expensive and may not throw smell as well.
Don’t miss the stirring stage; uneven distribution means certain portions of your candle will smell fantastic while others barely have any aroma at all.
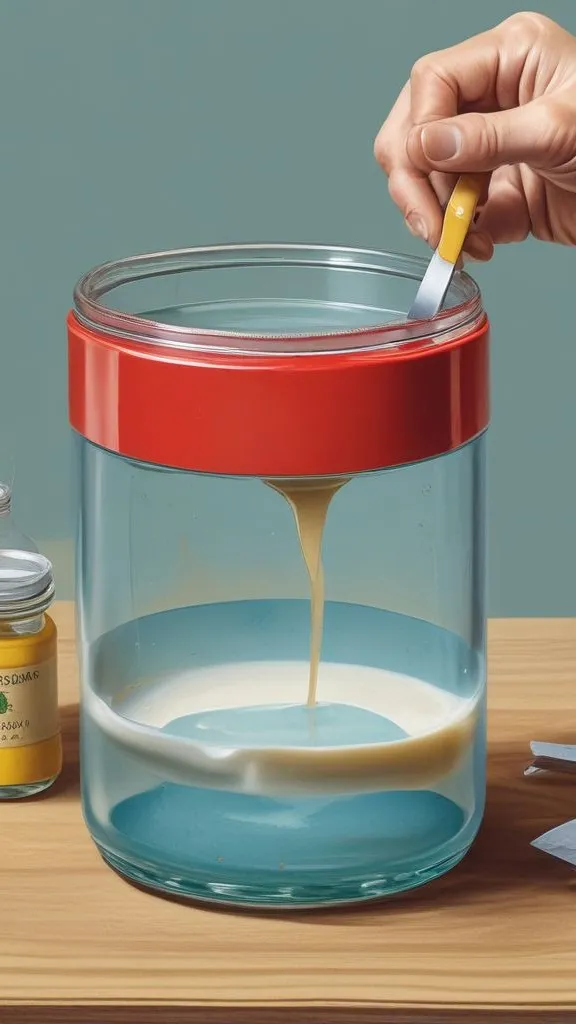
7. Carefully Pour Wax into Your Container
Now for the moment of truth—pouring your candle. Make that your wick is still balanced and secure. Slowly pour the wax into the jar or mold, going for the side first to avoid upsetting the wick position.
Fill it almost to the top, leaving approximately half an inch of room at the rim. Pour steadily but don’t rush; leaking hot wax is not enjoyable.
If you’re making numerous candles, work quickly so the wax doesn’t start hardening before you finish pouring.
You might see the wax level drops as it begins to cool and solidify—that’s entirely normal and we’ll solve it in the next step.
For now, just appreciate your work and let the wax continue its change. The joy of witnessing that liquid turn solid never gets old, even after manufacturing dozens of candles.
8. Address the Sink and Allow Full Curing Time
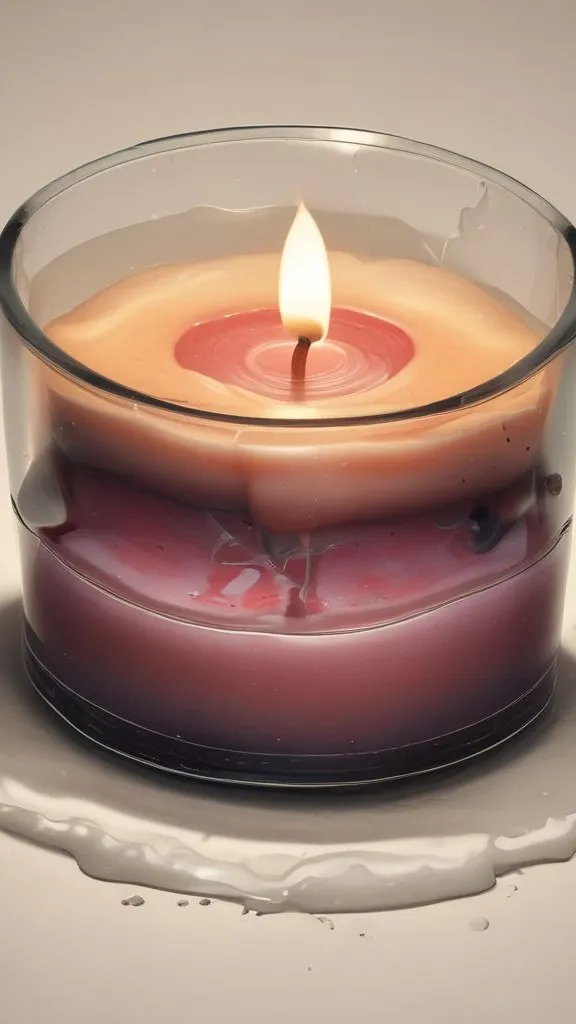
As the candle cools, you’ll likely notice a depression or sink hole appearing in the center around the wick. This happens because wax compresses as it solidifies.
Don’t worry—it’s easy to repair! After about an hour when the wax has partially hardened, gently poke a few holes around the wick with a skewer and pour a thin layer of saved molten wax to fill the depression.
This makes a smooth, professional-looking top. Now comes the hardest part: waiting. Let your candle cure completely for at least 24 hours before burning it, though 48 hours is ideally preferable for best smell throw.
I know it’s tempting to ignite it straight immediately, but waiting pays off with a better-burning candle.
During this time, the wax totally solidifies and the fragrance adheres well. Once cured, trim the wick to about a quarter inch, and your gorgeous homemade scented candle is ready to enjoy!
Frequently Asked Questions
What kind of wax is best for manufacturing scented candles from scratch?
Soy wax is the best beginner-friendly alternative because it’s natural, burns cleanly, and maintains smell well. Beeswax and paraffin are also popular, although soy is easier to work with and doesn’t make mistakes as easily.
How much fragrance oil should I apply to my candles?
A decent rule of thumb is 1 ounce of fragrance oil per pound of wax, which yields to 6-10% fragrance load. You can alter slightly based on personal preference, but don’t exceed 12% or the candle would not burn correctly.
Why did my candle acquire cracks or holes on top?
This commonly happens when wax cools too quickly or unevenly. Try pouring at a little higher temperature, avoiding drafts, and warming your containers beforehand. The second pour technique stated in step 8 also helps achieve smooth tops.
Can I use essential oils instead of fragrance oils for scented candles?
Yes, however essential oils are often more expensive and may not produce as strong a scent throw. You’ll also need to use a higher percentage as they’re less concentrated than candle-specific scent oils.
How long should I wait before burning my homemade candle?
Wait at least 24 hours, but 48 hours is optimal for best results. This curing time helps the wax to fully harden and the scent to properly adhere, giving you a better burning experience overall.
Conclusion
Making scented candles from scratch is one of those abilities that seems hard but is actually very easy for anyone who is willing to try. Now you know everything you need to know to manufacture gorgeous, scented candles that smell great in your house or make great gifts.
At first, the steps may appear complicated, but after manufacturing a few candles, they will become second nature. Try out new smells, colors, and container styles without being intimidated.
That’s where the real fun starts! Even if your first try isn’t flawless, each candle will teach you something new. So get your supplies together, set aside an afternoon, and enjoy the great feeling of making something beautiful with your own two hands.
No products found.